Research
|
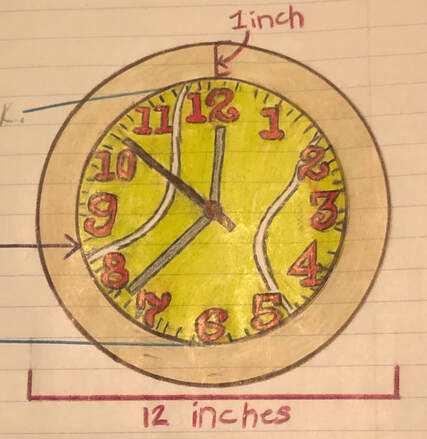
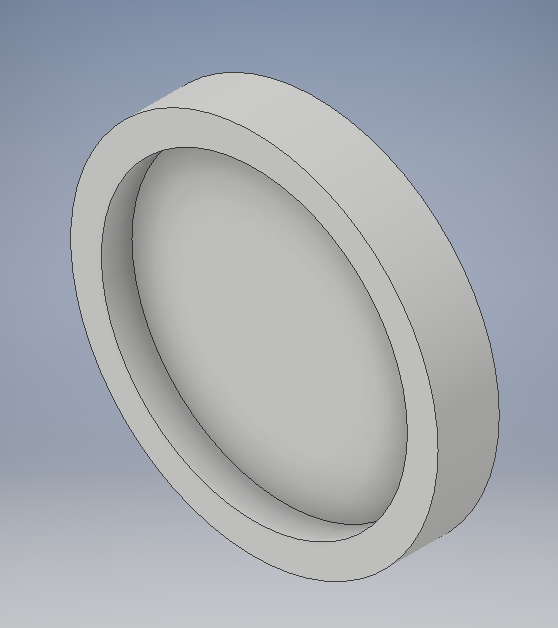
On the image to the right it shows what I wanted my finished project to look like. I broke the elements of the clock down to make it easier to see what machine does what. I also included the measurements to make sure everything fit together.
|
|
Three Machines
|
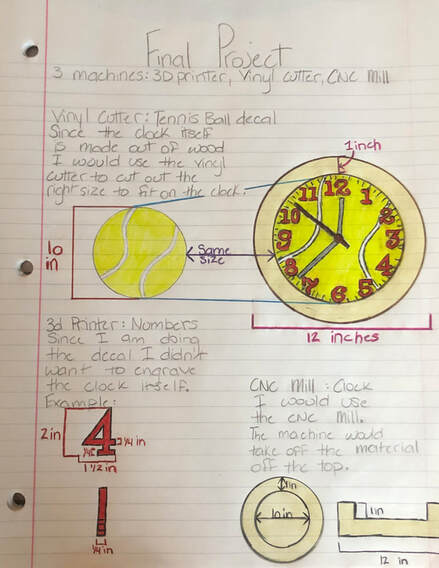
I decided to use the CNC Mill, 3D Printer, and the Vinyl Cutter.
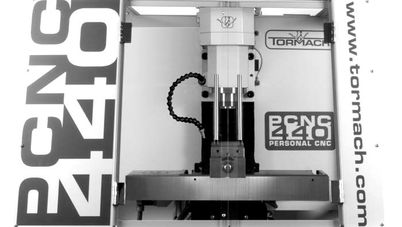
I am using the CNC Mill to shave off the inner part of the clock. The mill is good for this task because wood can be used.
|
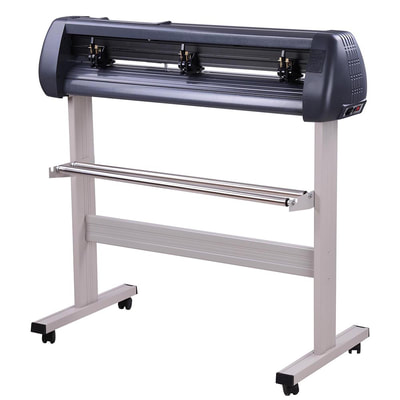
The vinyl cutter would be used for the tennis ball decal that is going to be put in the background of the clock.
|

I would use the 3D printer to print out the number of the clock. I could have used the laser to engrave the numbers but the decal is in the way.
|
CNC Mill
|
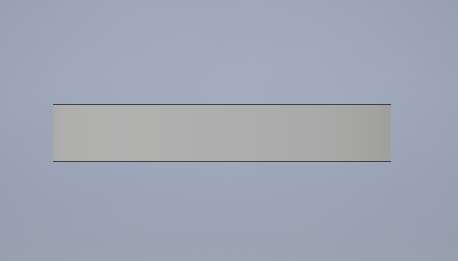
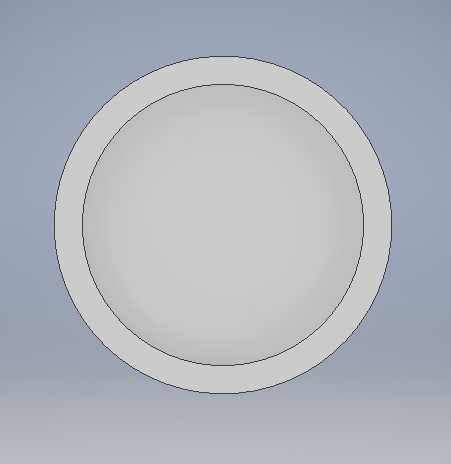
Although the clock itself is really simple I feel what I am putting in it will make it original. The inner circle is where the decal will go. The diameter of the clock is 12 inches with the inner circle having a diameter of 10 inches. The clock is 2 inches thick and the indent is 1 inch down.
|
|
Vinyl Cutter


|
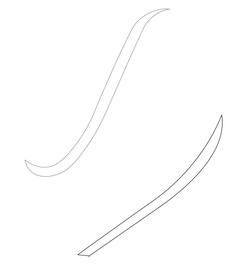
The ball itself is 10x10 inches so it fits perfectly into the groove of the clock. Just like normal I got rid of the color and made the outlines .0001 wide. This time when I was setting up the image tracing settings I didn't ignore the white since my image had white areas that I wanted to use. I would have used yellowish-greenish vinyl for the ball and white vinyl for the lines on the tennis ball.
|

|
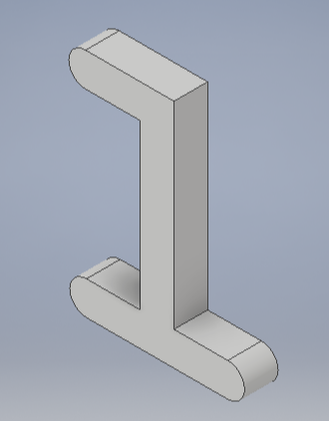
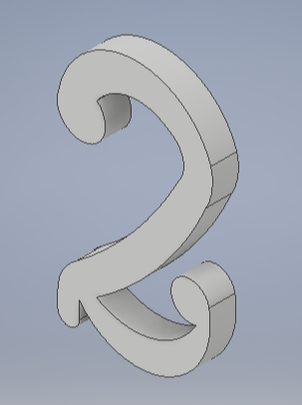
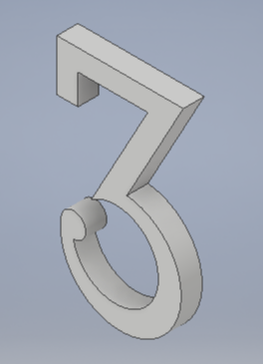
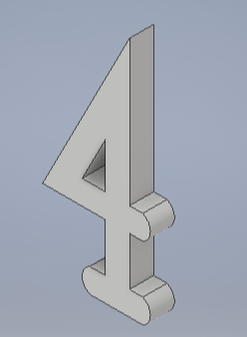
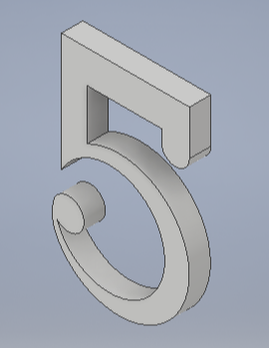
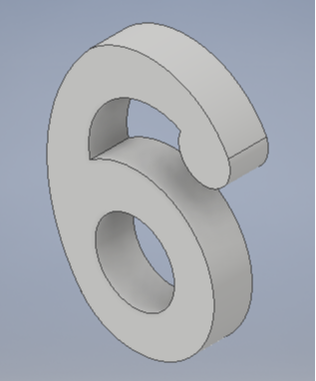
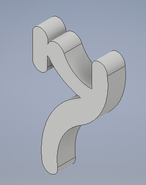
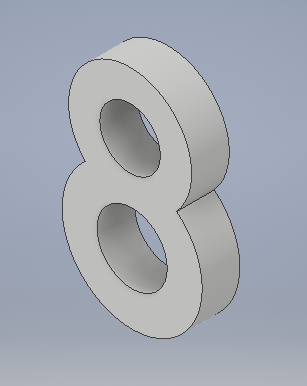
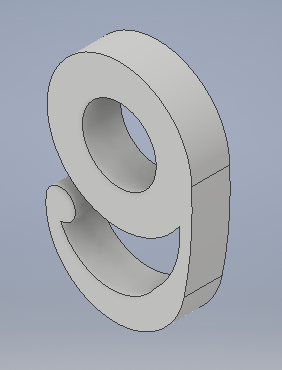
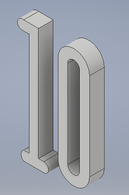
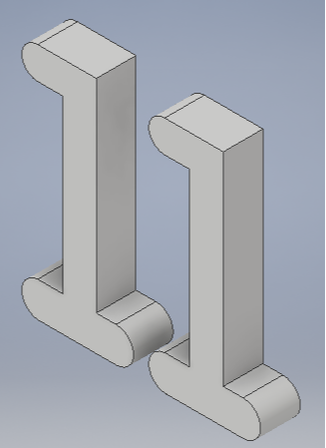
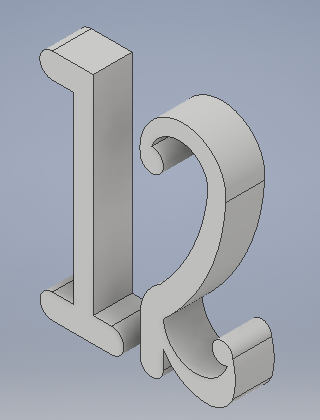
3D Printer
I made files for all 12 numbers of the clock. Each number is about 1.5 inches wide and 2 inches tall. Although in the pictures each letter seems to be different thicknesses all 12 numbers are .25 inches thick.
|
|
|
|
|
|
|
|
|
|
|
|
Time Management
Since I have three different elements to worry about I would split my time up according to how long each piece takes. The numbers on the 3D printer would take the longest because they are 12 different files that would probably need to be printed at 12 different times unless I found a way to put multiple numbers on 1 file. While they are printer I would shift my attention to the CNC mill and vinyl cutter. I would probably do the clock itself on the CNC mill first so they when the decal was done I could put it straight onto the clock since its finished. That way once those 2 are done and put together I could focus on gluing the letters on the clock. Once everything is put together that is when I would put on everything to make the clock work.
